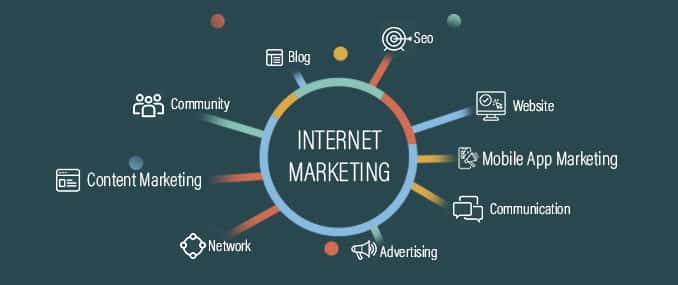
Digital marketing is an essential tool for small businesses to reach new customers and promote their products or services. The internet has made it easier than ever for businesses to connect with potential customers and promote their brand.
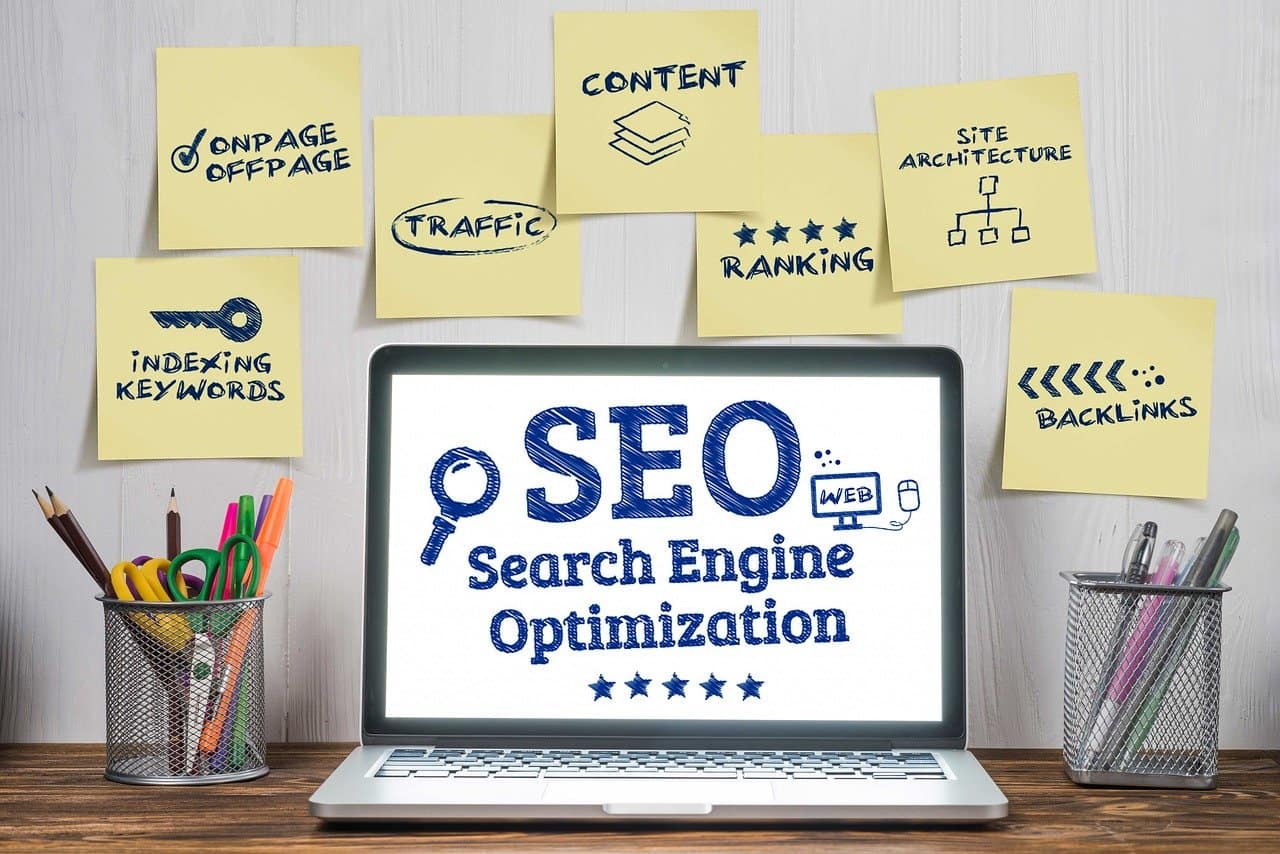
 One of the key components of digital marketing is search engine optimization (SEO). SEO involves optimizing a website to rank highly in search engine results for relevant keywords. This can help small businesses to attract more organic traffic to their website and improve their chances of being found by potential customers.
Pay Per Click or better known as PPC (Mostly Google Ads)
Another important aspect of digital marketing is Pay Per Click Advertising. PPC ads are sponsored listings that appear at the top of search engine results pages. Small businesses can use PPC to target specific keywords and demographics, and only pay when someone clicks on their ad. This can be an effective way to drive targeted traffic to a website and generate leads.
Social Media Marketing
Social media marketing is another effective way for small businesses to promote their brand and connect with potential customers. By creating and sharing engaging content on social media platforms, small businesses can build a following and drive traffic to their website.
Email Marketing
 Email marketing is another valuable tool for small businesses. By collecting email addresses from customers and potential customers, small businesses can send newsletters, promotions, and other updates to keep their brand top-of-mind.
Content Marketing
Content marketing is another important aspect of digital marketing for small businesses. By creating and sharing valuable, informative, and engaging content, small businesses can attract and retain customers. This can include blog posts, videos, infographics, and other types of content that provide value to customers.
Influencer Marketing
Influencer marketing is a type of digital marketing where small businesses partner with influencers to promote their products or services. Influencers are individuals with a large following on social media platforms who can help to promote a small business to their audience.
Video Marketing
 Video marketing is another effective way for small businesses to promote their brand and engage with customers. By creating and sharing engaging videos on social media, small businesses can grab the attention of potential customers and drive traffic to their website.
Affiliate Marketing
Affiliate marketing is a type of digital marketing where small businesses partner with other businesses or websites to promote their products or services. In return, the small business pays a commission to the partner for any sales generated through their referral.
Mobile Marketing
Mobile marketing is a type of digital marketing that focuses on reaching customers on their mobile devices. With more and more people using smartphones and tablets, it’s important for small businesses to optimize their website for mobile and create mobile-specific marketing campaigns.
Overall, digital marketing is an essential tool for small businesses looking to reach new customers and promote their brand. By leveraging the power of the internet, small businesses can connect with potential customers and grow their business.


 The disadvantage with the recent price war is that it has been hard to determine which service provider offers reliable services and which not. It is not always true that the most expensive web host may also offer you the best services.
 With the option to use heavy graphics and video streaming on websites, halting or downloading a site can be a great concern. Ensure that your web host provider is using servers that offer great speeds otherwise your site may be difficult to download and people would lose interest in visiting it. If a web host cuts down costs then chances are that he could be offering low speed.
 As a web designer, RSS feeds can be seen as a two-way street. You can, and should, produce RSS feeds for your own web site content. At the same time, you also have the ability to take the RSS feeds of other and insert their content into your own web sites. This is a great way to keep your site and web design constantly fresh with new and auto-updating content.
 The great aspect of RSS is that people are publishing their content in a format that is built to be used by others. Integrating an RSS feed into a web design is much simpler than building your own feed. There are a lot of widgets, scripts and small programs that will let you take any publicly available RSS feed and integrate it seamlessly into your web design. By doing this you help the original authors of the content get links and exposure for their work while at the same time keeping your site constantly updated with new content. This is a win-win situation for everyone involved.